How to set up Visual Studio Code with Git Bash on Windows
Posted on July 15th 2018 by ZarkoHow to set up Visual Studio Code with Git Bash on Windows
![]()
This article will show you how to set up Visual Studio Code editor and integrate Git Bash into it,(a terminal shell which will allow you to use UNIX terminal commands and utilities on your Windows operating system)
* Note: I also have a video tutorial about VS Code here (covers the installation setup and also Live Server which enables auto page reload when working with front-end web development (HTML/CSS/JS files): https://www.youtube.com/watch?v=P6VdG7ZP82w
Be sure to visit my new YouTube channel linked below! Also, if you found the tutorial useful please take a second to like the video and subscribe for more content in the future!
Thank you for your time! Now, to continue with this written tutorial:
Make sure to first follow this tutorial to set up Git Bash on your Windows operating system:
https://zarkom.net/blogs/how-to-install-git-and-git-bash-on-windows-9140
After you are done with that, fetch the Visual Studio Code installer here: https://code.visualstudio.com/download
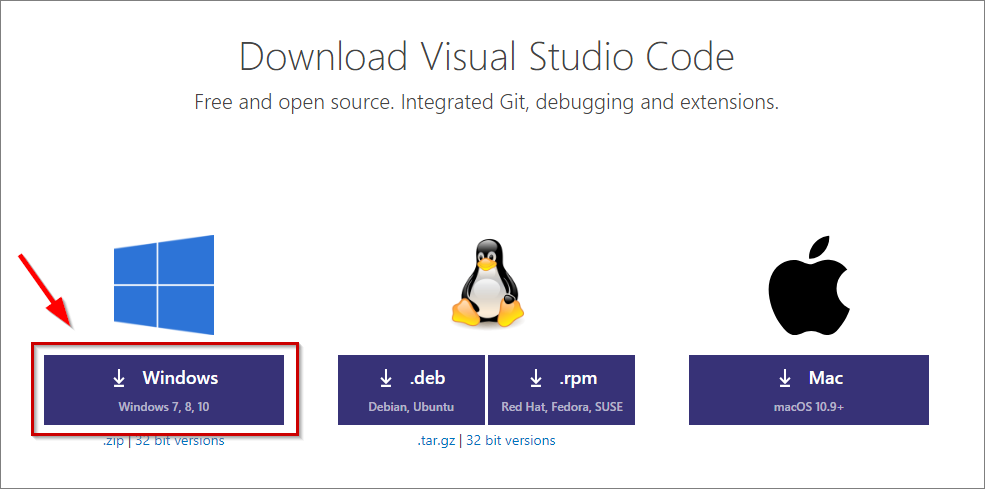
When the download finishes, run the VSCodeSetup .exe installation file (press 'Yes'/'Run' when the Window security dialog pops up)
1) Press the 'Next' button in the installation welcome screen.

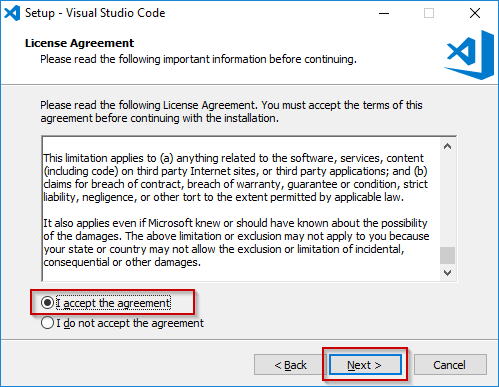
2) Select the 'I accept the agreement' option (after reading the license agreement) and press 'Next'.
3) Leave the default installation path and click 'Next' to continue.

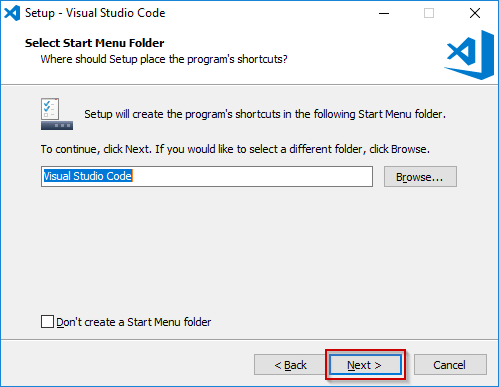
4) Remember the Start Menu folder which will be created for Visual Studio Code - you can use the shortcut there to start the code editor, then press 'Next' to continue.
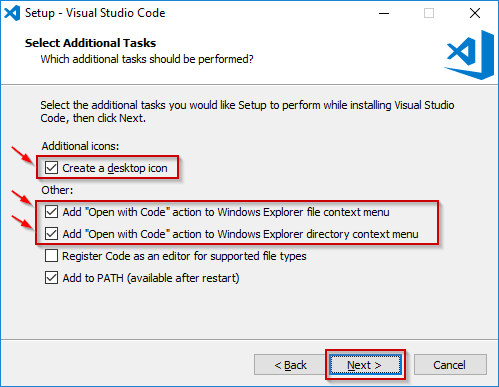
5) You can tick the options marked in the screenshot, and leave everything else as it is, and again press 'Next' to continue.
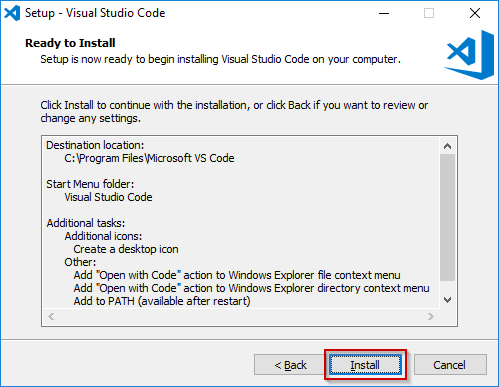
6) Press 'Install' to initiate the installation process.
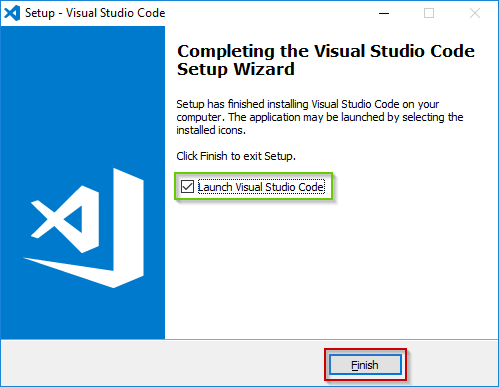
7) After it completes, you can click 'Finish' to finalize the installation. Leave the 'Launch Visual Studio Code' ticked so the editor starts right after.
Setting up Visual Studio Code with Git Bash
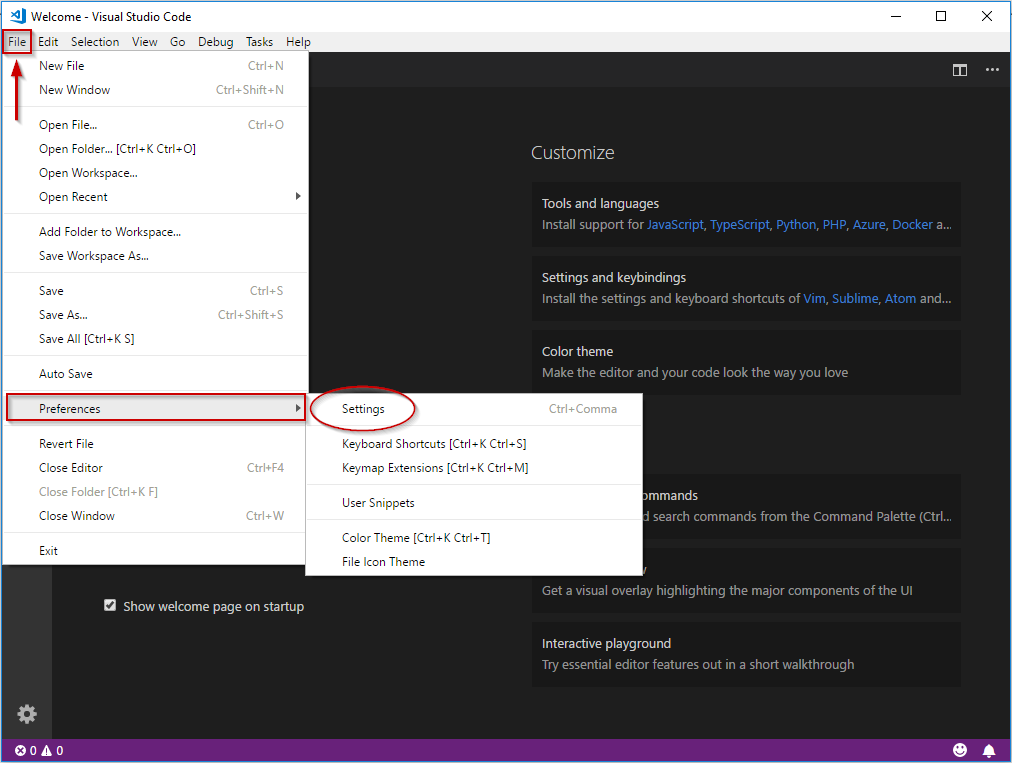
8) In Visual Studio Code, press File, then go to Preferences -> Settings
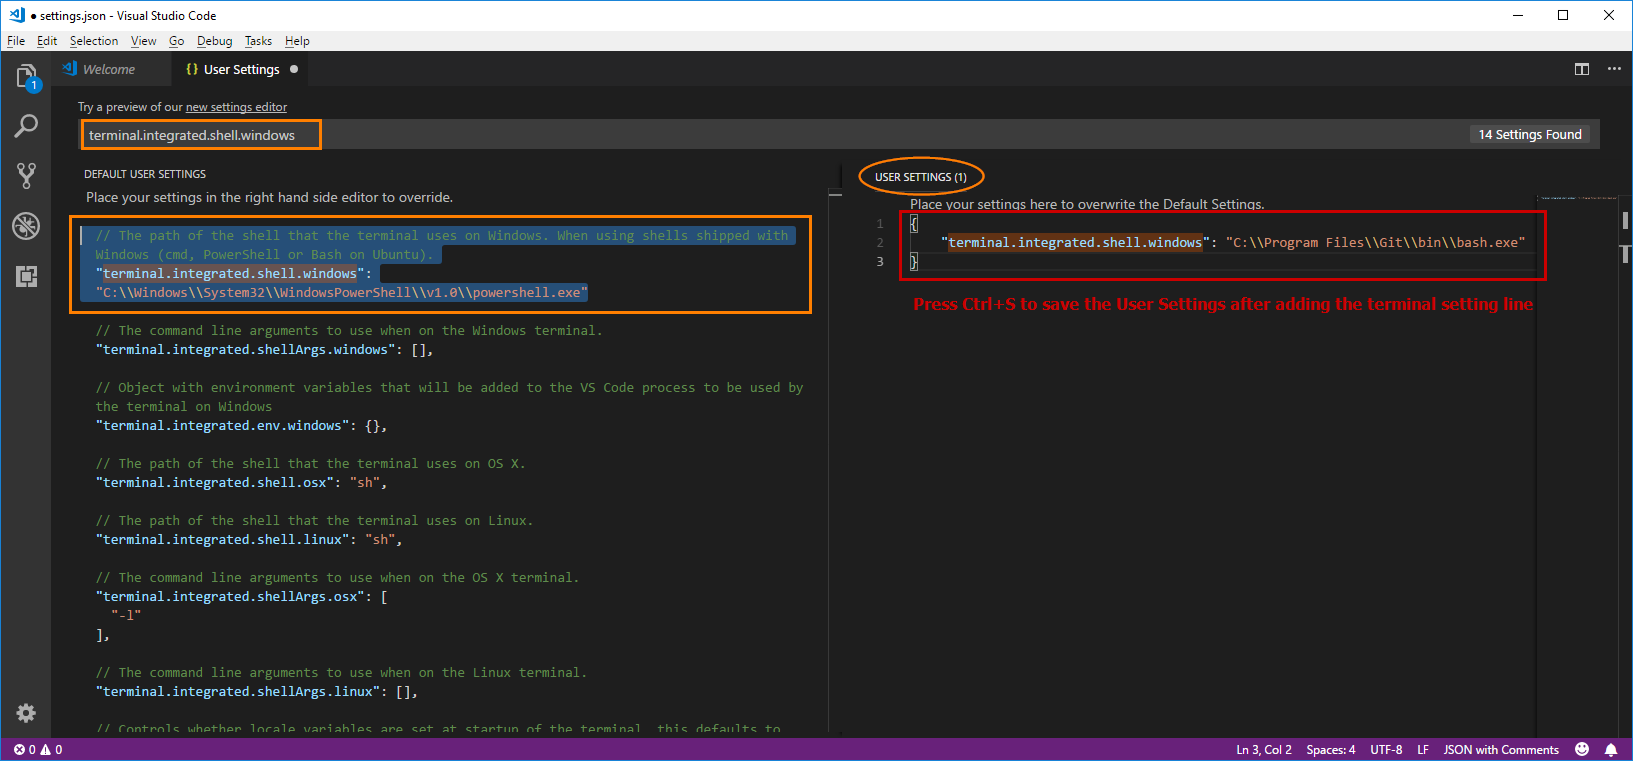
9) On the left side of the 'User Settings' interface you can see the default settings, while on the right side you can set your custom User Settings.
You can search for particular settings using the input field up top. We want to change the integrated terminal for the editor, so we searched for terminal.integrated.shell.windows
We can see it's set to Powershell by default, but we want to change it to Git Bash. The necessary code that we
need
to add to the User Settings window can be found here:
https://code.visualstudio.com/docs/editor/integrated-terminal
The code we want do add is the following (see the screenshot for additional details):
"terminal.integrated.shell.windows": "C:\\Program Files\\Git\\bin\\bash.exe"
10) Now you can start your integrated Git Bash inside VS Code by using the Ctrl+` keyboard shortcut.

To find more information about Visual Studio Code and its features, check the official documentation page:
https://code.visualstudio.com/docs/getstarted/introvideos
And that would be it! Enjoy your new code editor with a shell based integrated terminal.