How to install Git and Git Bash on Windows
Posted on July 8th 2018 by ZarkoHow to install Git and Git Bash on Windows


This article will guide you on how to install Git command line tools along with Git Bash, which is a terminal shell which will allow you to use UNIX terminal commands and utilities on your Windows operating system.
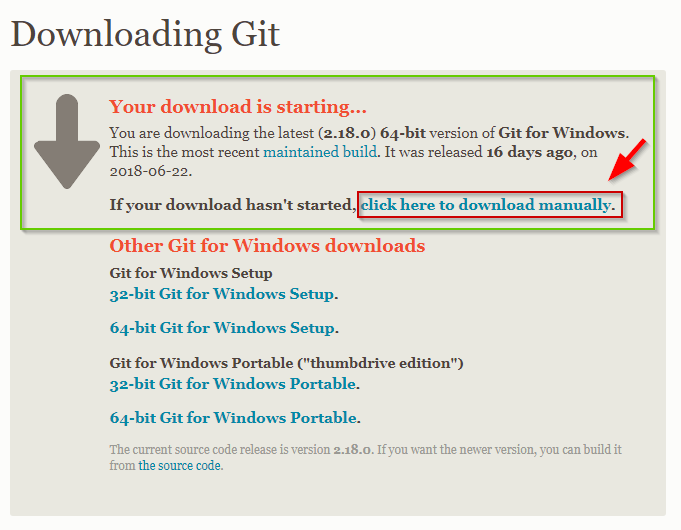
You can find the Windows installer available for download here: https://git-scm.com/downloads
https://git-scm.com/download/win
Your download should start automatically, but if it doesn't for some reason, you can follow the If your download hasn't started, click here to download manually. link.
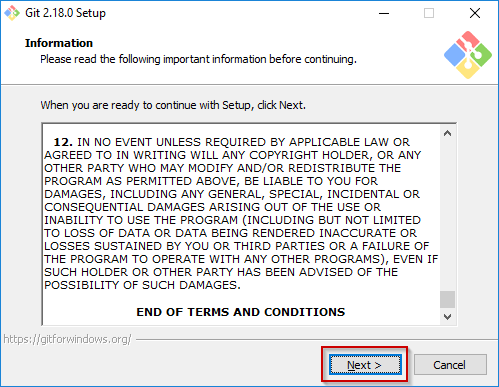
After the download finishes, run the Git .exe installation file (press 'Yes'/'Run' when the Window security dialog pops up)
1) Click the 'Next' button after reading the terms and conditions in the initial installation window.
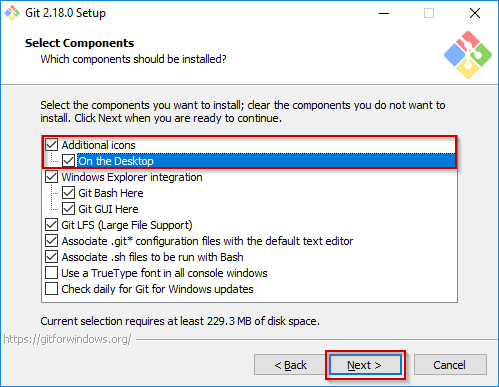
3) You can tick the 'On the Desktop' icon option and leave other selected components as default, and again press 'Next' to continue.
4) Remember the Start Menu folder which will be created for Git and Git Bash, you can use the shortcuts there to start the tools.
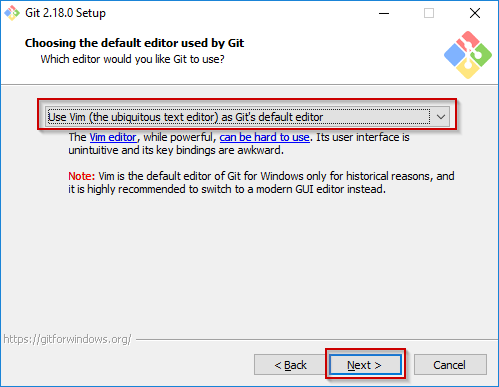
5) You can leave the 'Vim' as Git's default editor, unless you want to change it to your code editor from the dropdown menu.
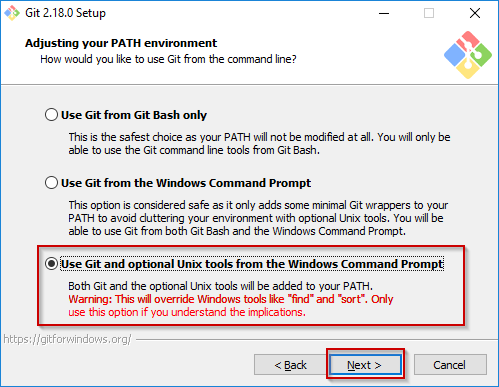
6) Choose the 'Use Git and optional Unix tools from the Windows Command Prompt' on the bottom and click 'Next' to proceed.
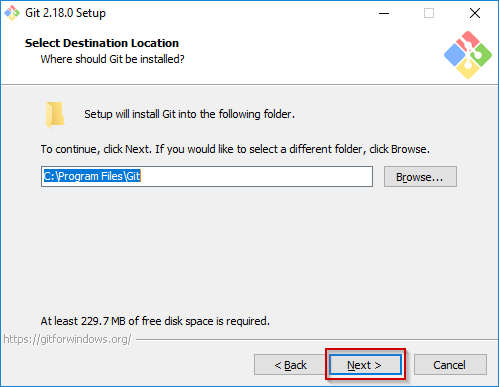
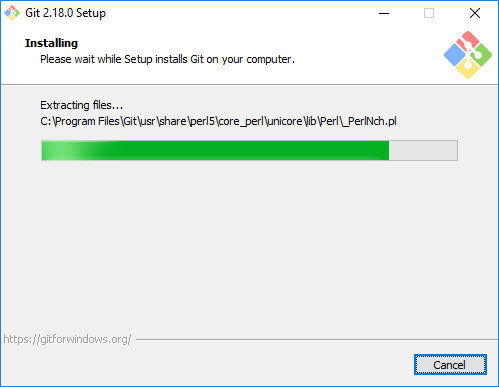
7) Keep clicking 'Next' and leave all the predefined installer settings until the installation process starts.
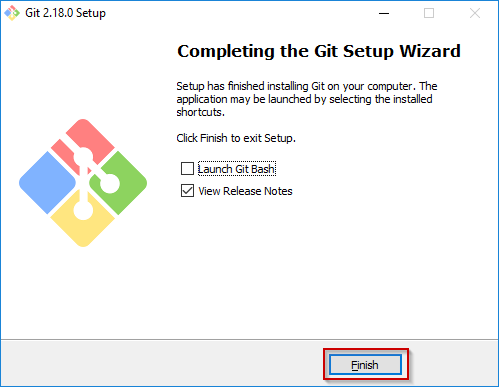
9) Now you can start your Git Bash by clicking the desktop shortcut or via the Windows Start Menu.
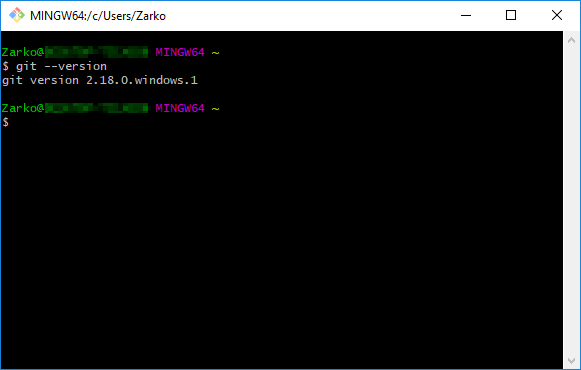
You can check verify that git command line tools were properly installed by typing git --version in the Git Bash terminal.
To find more information about the commands and tools available via Git and Git Bash, you can check here:
https://www.codeproject.com/Articles/457305/Basic-Git-Command-Line-Reference-for-Windows-Users

