How to install MySQL 8 for development in Windows
Posted on July 5th 2018 by ZarkoHow to install MySQL 8 for development in Windows
Visit the MySQL Community Server download page by clicking on the following link: https://dev.mysql.com/downloads/mysql/
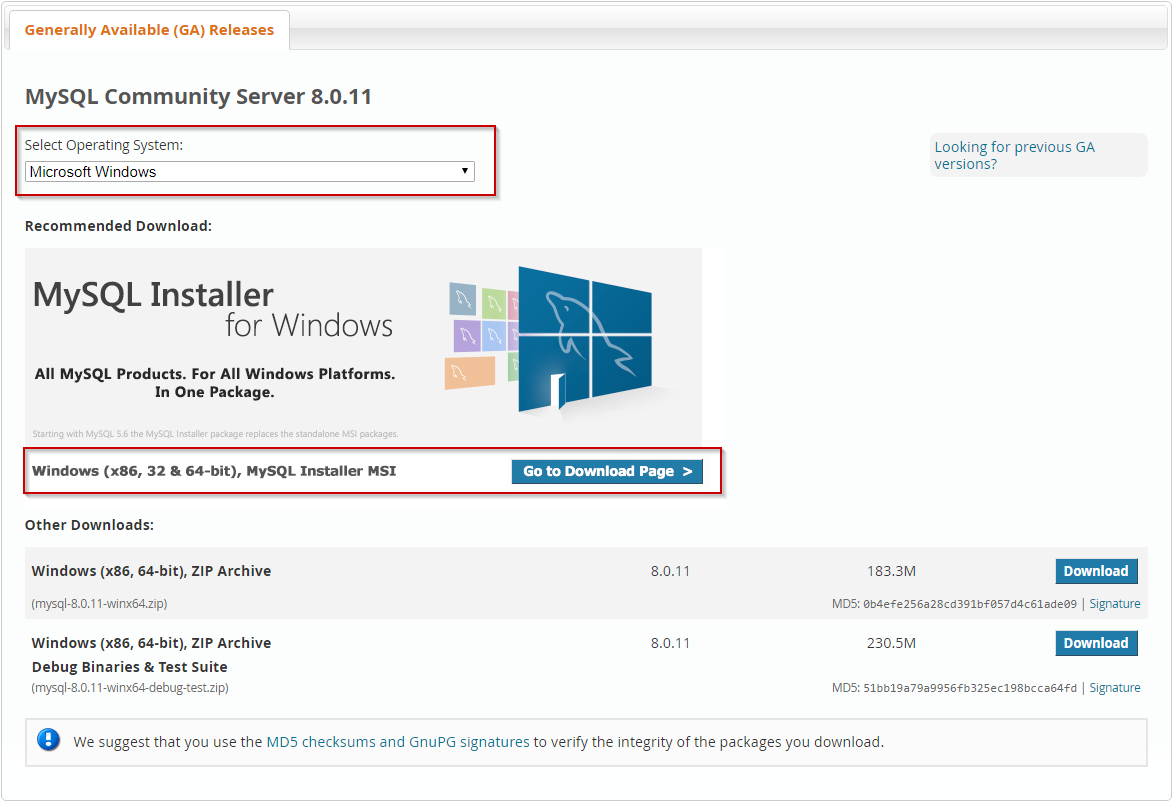
Scroll down the page and make sure 'Microsoft Windows' option is selected as your operating system, then click 'Go to Download Page' for the Windows (x86, 32 & 64-bit) MySQL Installer MSI.
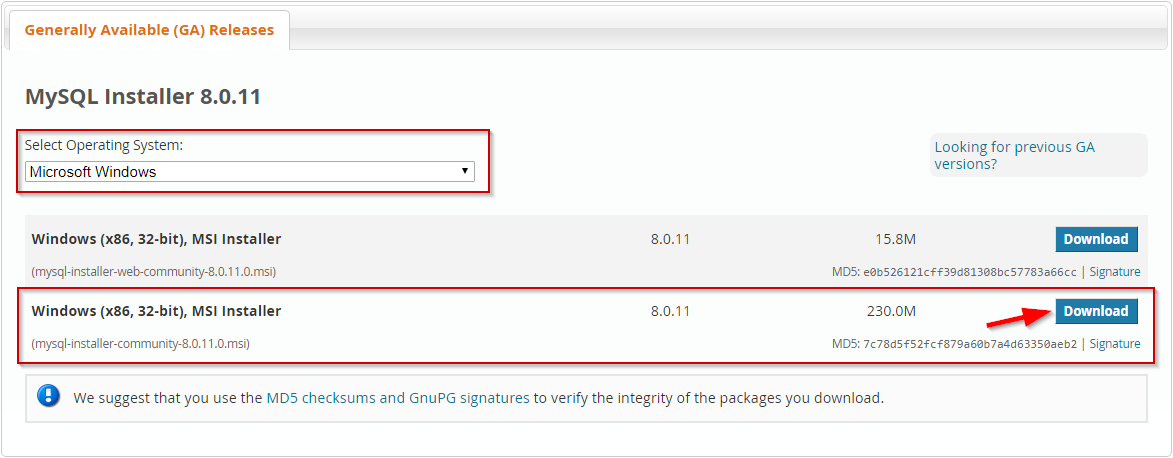
Scroll down the page again, to where you can pick the web installer (online installation) or an offline installer (downloads the full installer which does not require a connection). We will chose the offline installer option, as shown on the screenshot below.
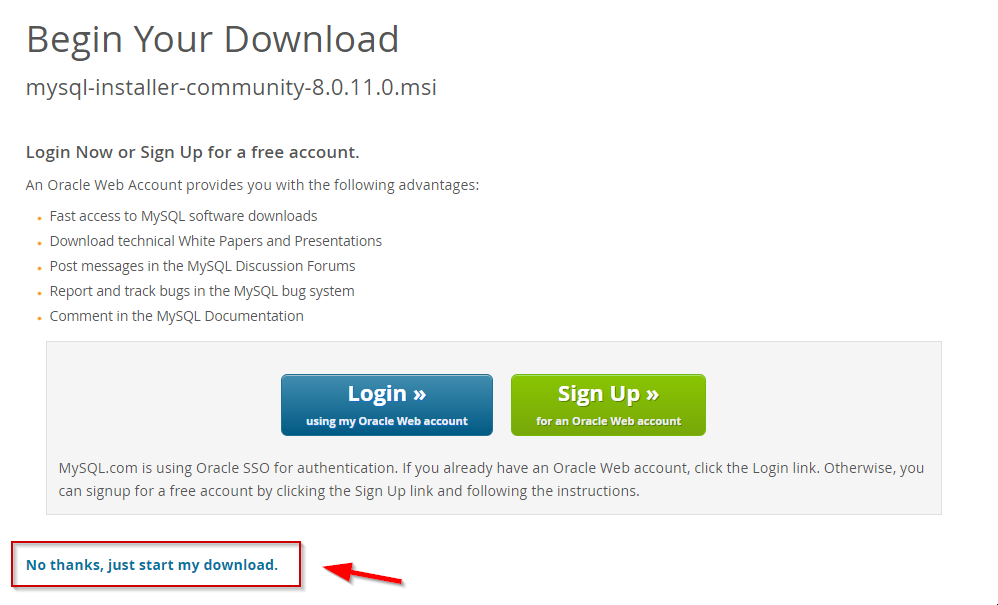
This will finally take you to the download page, where you will be prompted to log in or sign up with Oracle Web. This is not required to download the MySQL installer, so you can just scroll to the bottom and select the 'No thanks, just start my download.' option
After the download finishes, run the MySQL .msi installation file (press 'Run'/'Yes' when the Window security dialog pops up)
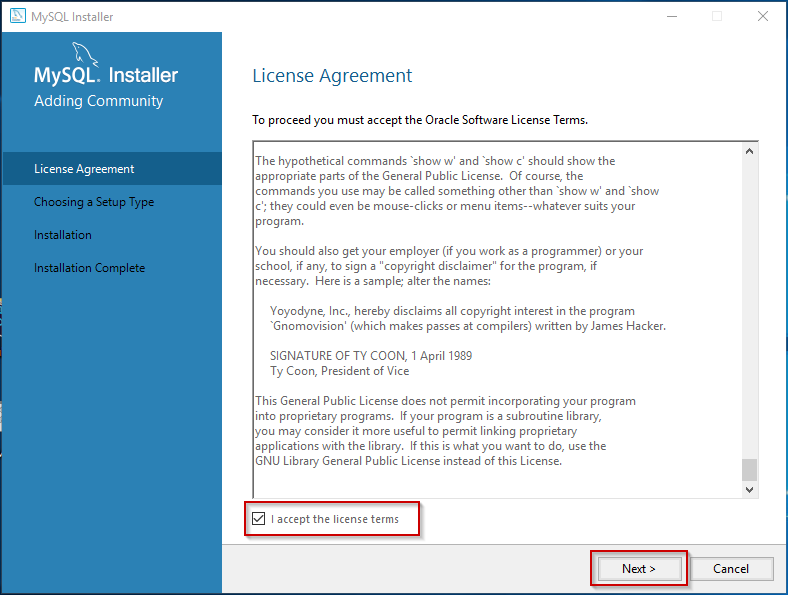
1) Tick the 'I accept the license terms' checkbox (after reading the license agreement carefully) and then press 'Next'
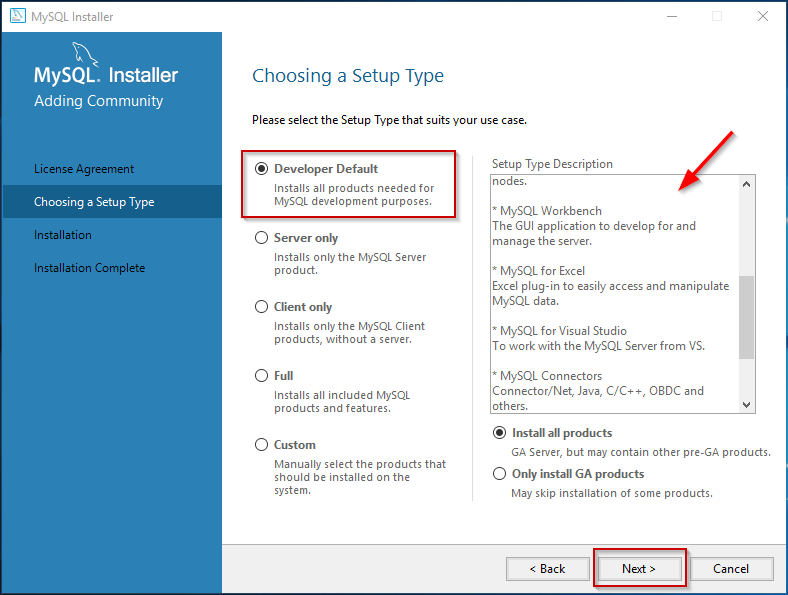
2) Select the 'Developer Default' option and click 'Next' (You can check the 'Setup Type Description' on the right to see what will get installed)
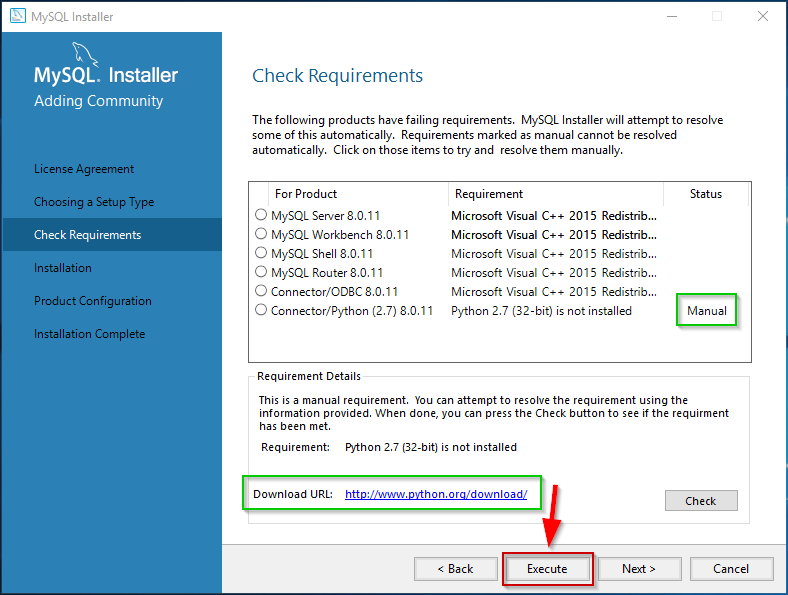
3) Click the 'Execute' button to install the requirements - follow each of the requirements installers through until it's all done. There may be some requirements that need a manual installation, which can be done by following the 'Download URL'. In this example, if you won't be connecting your MySQL to Python you can skip it's manual installation.
Click 'Next' to continue with the installation. Press 'Yes' if a dialog about the missing requirements which we chose not to install pops up.
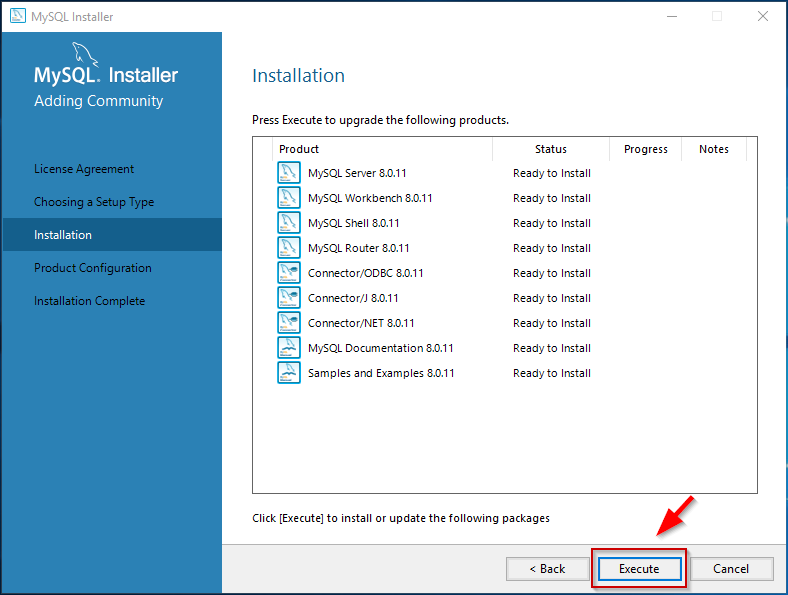
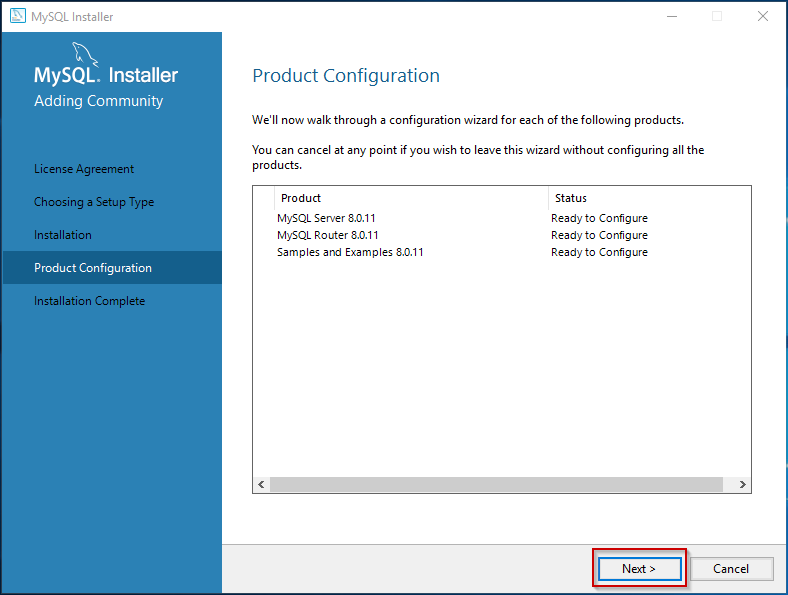
4) Click 'Execute' to install all the products that come with the MySQL Installer. Wait for the installations to complete before clicking 'Next' to head to the next step.
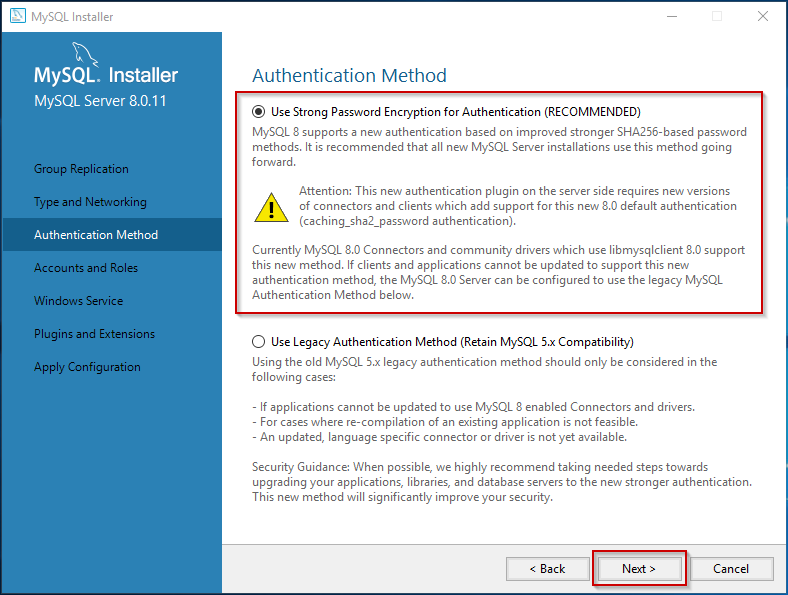
8) In this step, we can select the new, strong password encryption method for authentication. Press 'Next' to proceed.
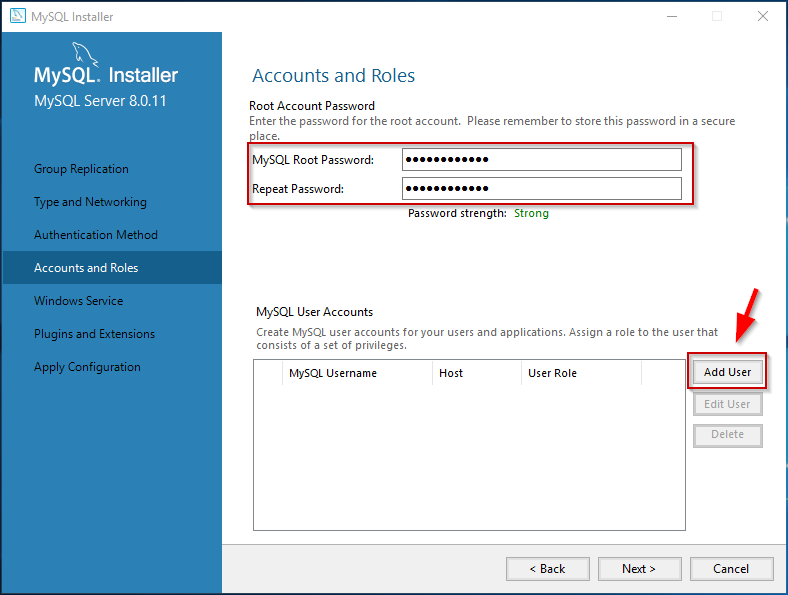
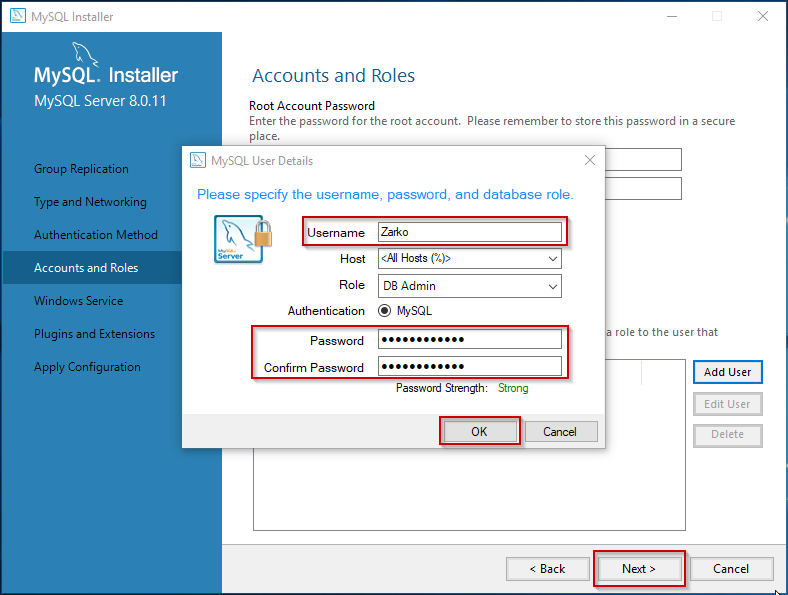
9) Type in a password for your root account. Make sure that you remember your password (to make your password strong, use a combination of lowercase and uppercase letters, numbers and symbols). After setting the password, click the 'Add User' button.
Type your name in the 'Username' field, and set the 'Password' for your personal account (it can be the same as your root password, just keep them safe!), then press 'OK' to finish.
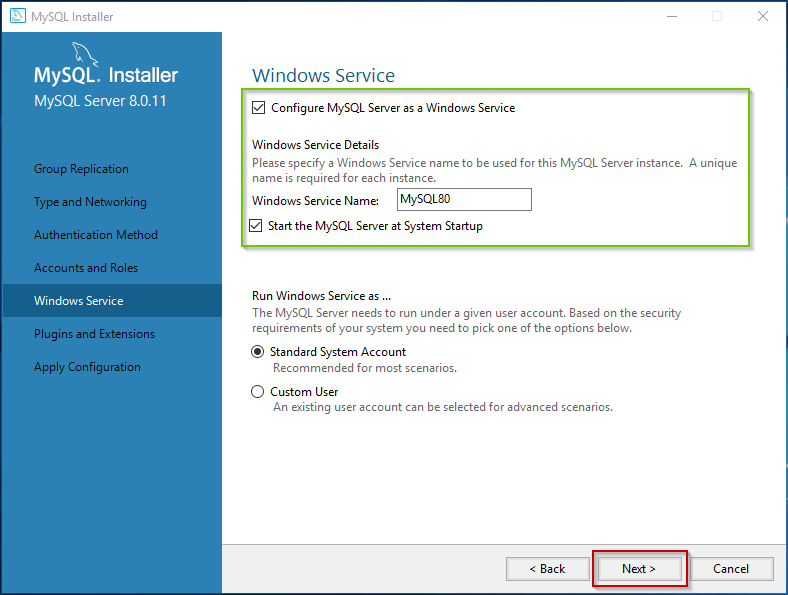
Lastly, press 'Next' to finish this step.
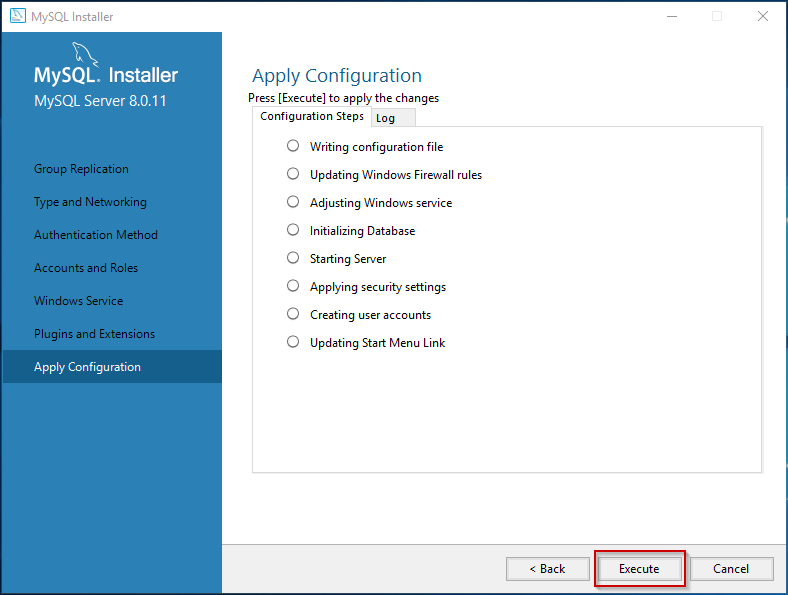
12) Finally, press 'Execute' to apply the settings and then 'Finish' to finalize the server configuration.
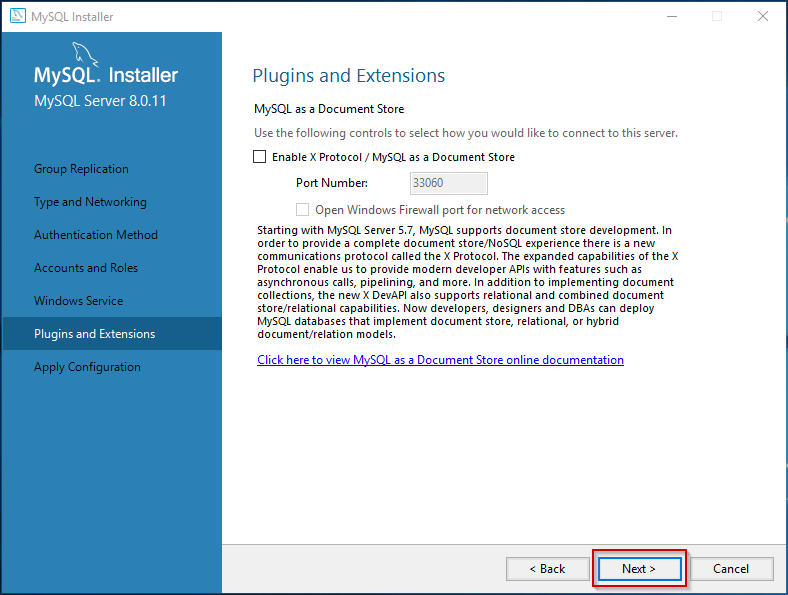
13) Leave the default settings for other products and keep pressing 'Next'.
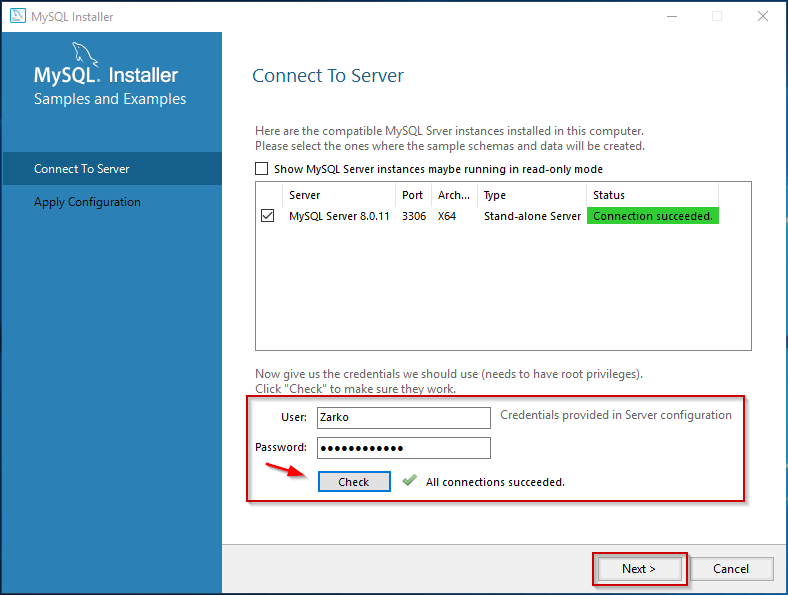
[OPTIONAL] When you reach the 'Connect To Server' window you can type the credentials you created in the user and password fields. Click 'Next' after entering your data.
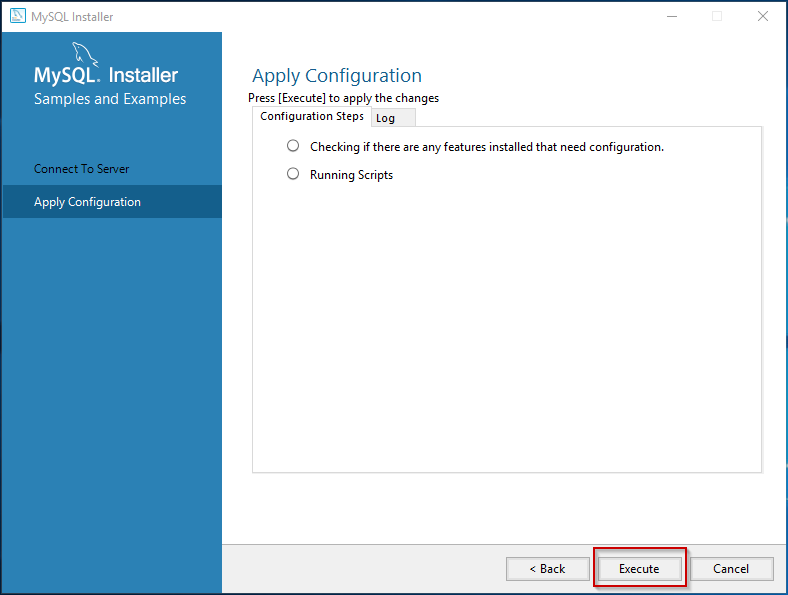
14) After that, keep pressing 'Next' and you should reach the 'Installation Complete' window, at last! Press the 'Execute' and then 'Finish' to finalize the installation.
