How to install MongoDB for development in Windows
Posted on July 2nd 2018 by ZarkoHow to install MongoDB for development in Windows
2. MongoDB setup
VIDEO TUTORIAL NOW AVAILABLE! https://www.youtube.com/watch?v=MCpbfYvvoPY
Note (July 2022): It looks like MongoDB version 6 doesn't include mongo.exe in the installation folder. Instead, you should install the MongoDB Shell (mongosh) with the MSI installer for Windows (click here for instructions - make sure to choose the Windows MSI installer from the download page, in the Platform/Package menu), and then you would use the mongosh command (instead of the mongo command) to start the shell. Otherwise, instead of installing the new MongoDB version, if you choose to download and install the same MongoDB version as seen in the video tutorial linked above, then you would ensure everything works the same as in the video.
Be sure to visit my new YouTube channel linked below! Also, if you found the tutorial useful please take a second to like the video and subscribe for more content in the future!
![]()
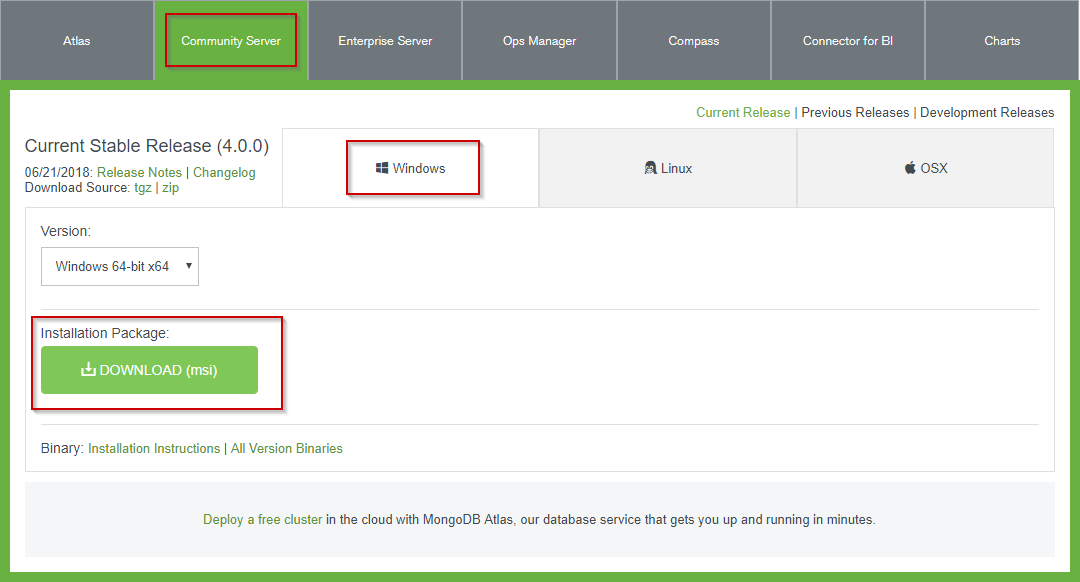
Visit the MongoDB Download Center by clicking on the following link: https://www.mongodb.com/download-center
Select the ‘Community Server’ option, make sure Windows is selected as your operating system and click the download button.
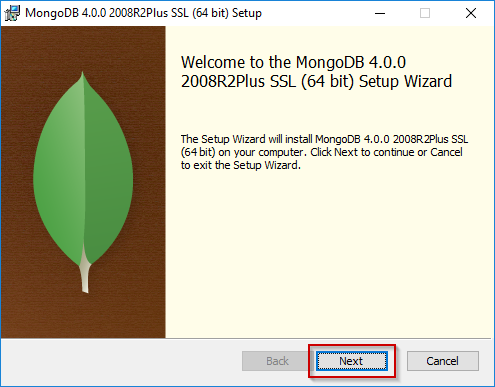
After the download finishes, run the MongoDB .msi installation file (press ‘Run’ when the Window security dialog pops up)
1) Press the ‘Next’ button
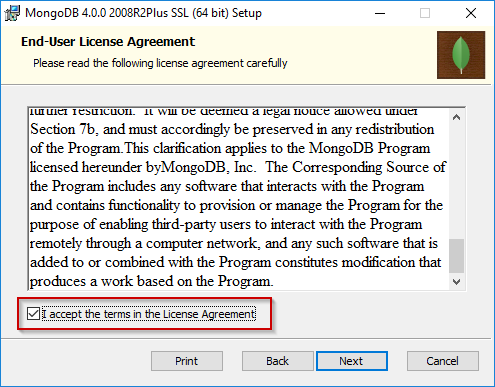
2) Tick the ‘I accept the terms in the License Agreement’ checkbox (after reading the license agreement carefully, of course)
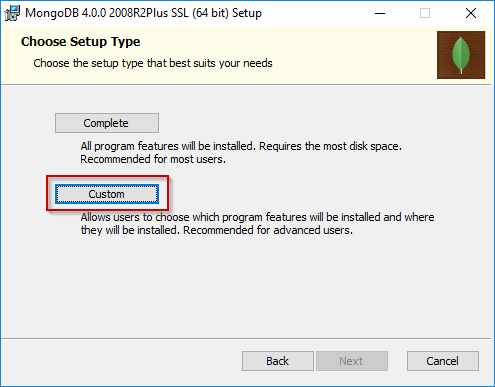
3) Select the ‘Custom’ button so we can change the install folder location
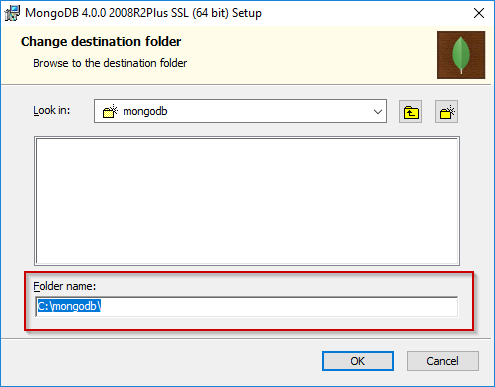
4) Click ‘Browse…’ on the bottom right

5) Now type C:\MongoDB\ in the ‘Folder name’ input field and press ‘OK’
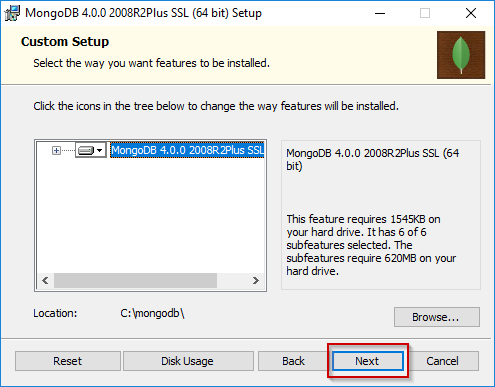
6) Check if everything looks good and then press ‘Next’
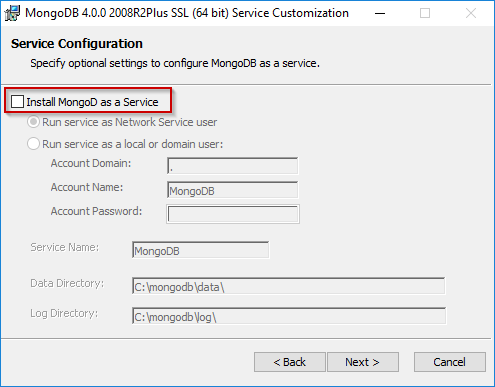
7) Untick the ‘Install MongoD as a Service’, since we will be starting our database manually.
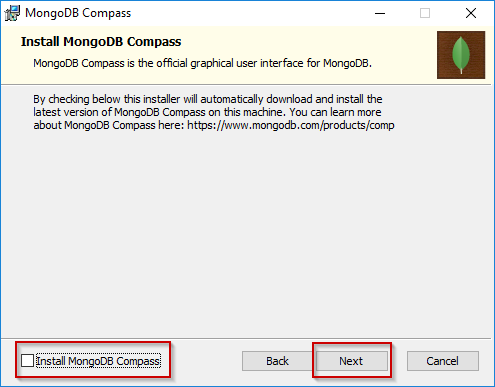
8) Untick ‘Install MongoDB Compass’ as shown in the screenshot and click ‘Next’ again
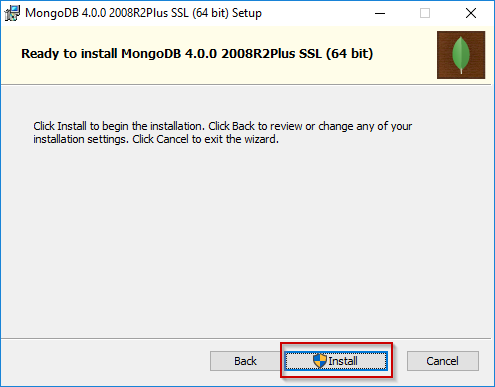
9) Finally, click the ‘Install’ button (Press ‘Yes’ on the User Account Control dialog from Windows)
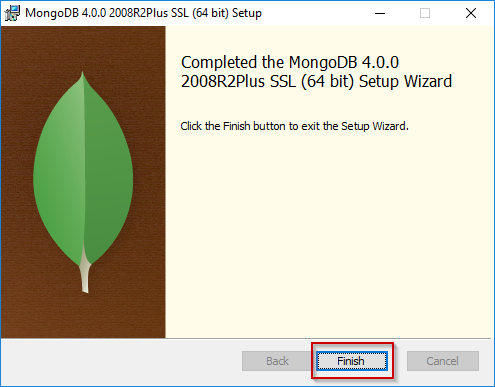
10) Press the ‘Finish’ button to complete the installation process
UPDATE (JULY 2022) It looks like MongoDB version 6 doesn't include mongo.exe (the classic mongo shell) in the installation folder. Instead, you should install the MongoDB Shell (mongosh) with the MSI installer for Windows (click here for instructions - make sure to choose the Windows MSI installer from the download page, in the Platform/Package menu), and then you would use the mongosh command (instead of the mongo command) to start the shell. Otherwise, instead of installing the new MongoDB version, if you choose to download and install the same MongoDB version as seen in this tutorial above, then you would ensure everything works the same as in the video.
Post-install Configuration
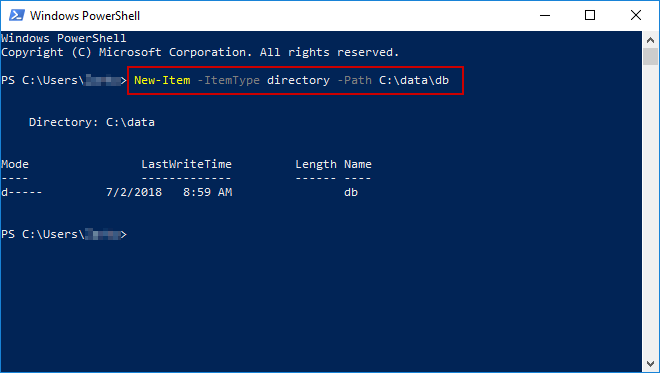
11) First thing we will do is create the data folder for MongoDB.
Start Windows Powershell (press the Windows Start button and type ‘powershell’ to find the shortcut) and type the following command:
New-Item -ItemType directory -Path C:\data\db
Alternatively, you can manually create these folder by going into your C:\ drive with the file explorer, then create a new folder called ‘data’
Go into the newly created folder called ‘data’ and create a new folder inside of it, called ‘db’
To finish the setup, please refer to the video linked at the top of this article, and also make sure to review the red note/update above the video link, also at the top of this article.